

In today’s post I’m giving false lashes a BIG HUGE shout out! Because, honestly I’d be lost without them!
A good set of lashes now more than ever are pretty much a necessity, because when you spend your day wearing a mask your eyes are on show the most, so they need to stand out, and look good!!
I have been a lash fan since I purchased my very first pair of Cheryl Coles! I originally purchased a pair for a night out, and loved them so much I have literally been wearing them everyday since!
Lashes, be it strip or extensions are very important to me personally, I NEVER leave my house without lashes on, they make me feel complete and confident.
I love the lash extension look so much so that I am now a fully trained lash technician, however it is important to give those a break, which is wear good old strip lashes come in handy!!
Having had “extensive” experience in wearing many many different types of lashes, and believe me not all of them looked good, I’m here with my own guide to getting good false lashes!!
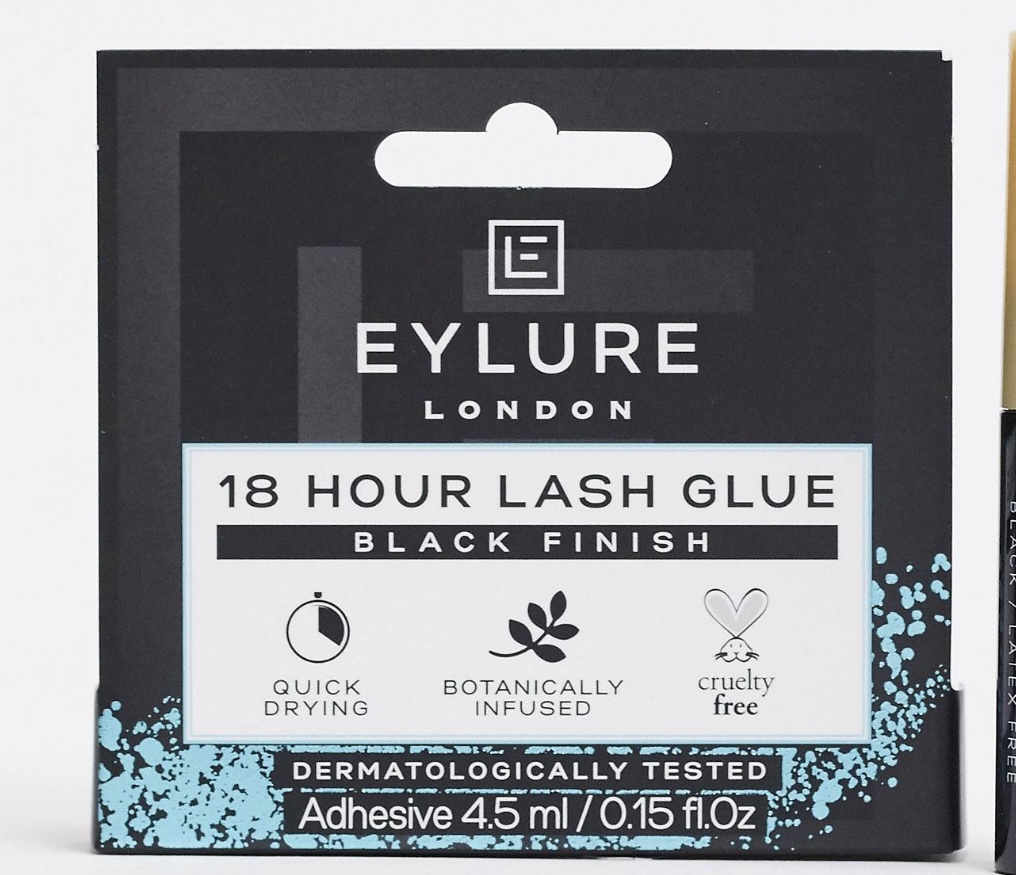
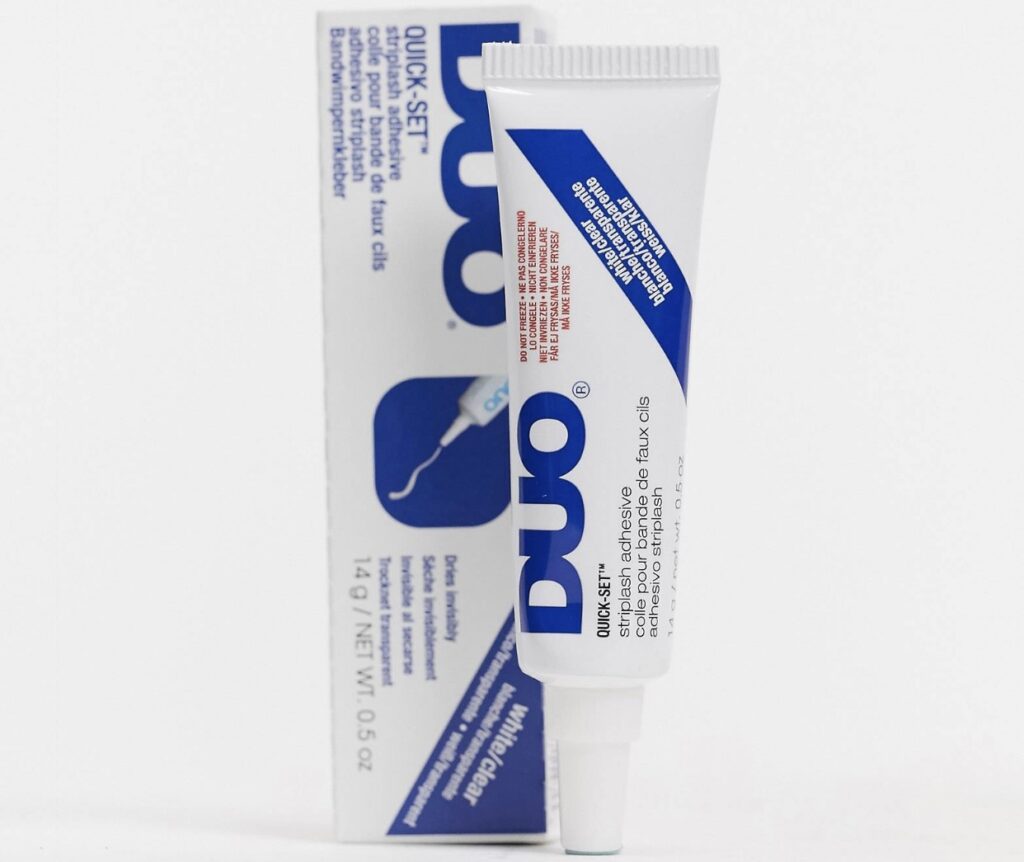
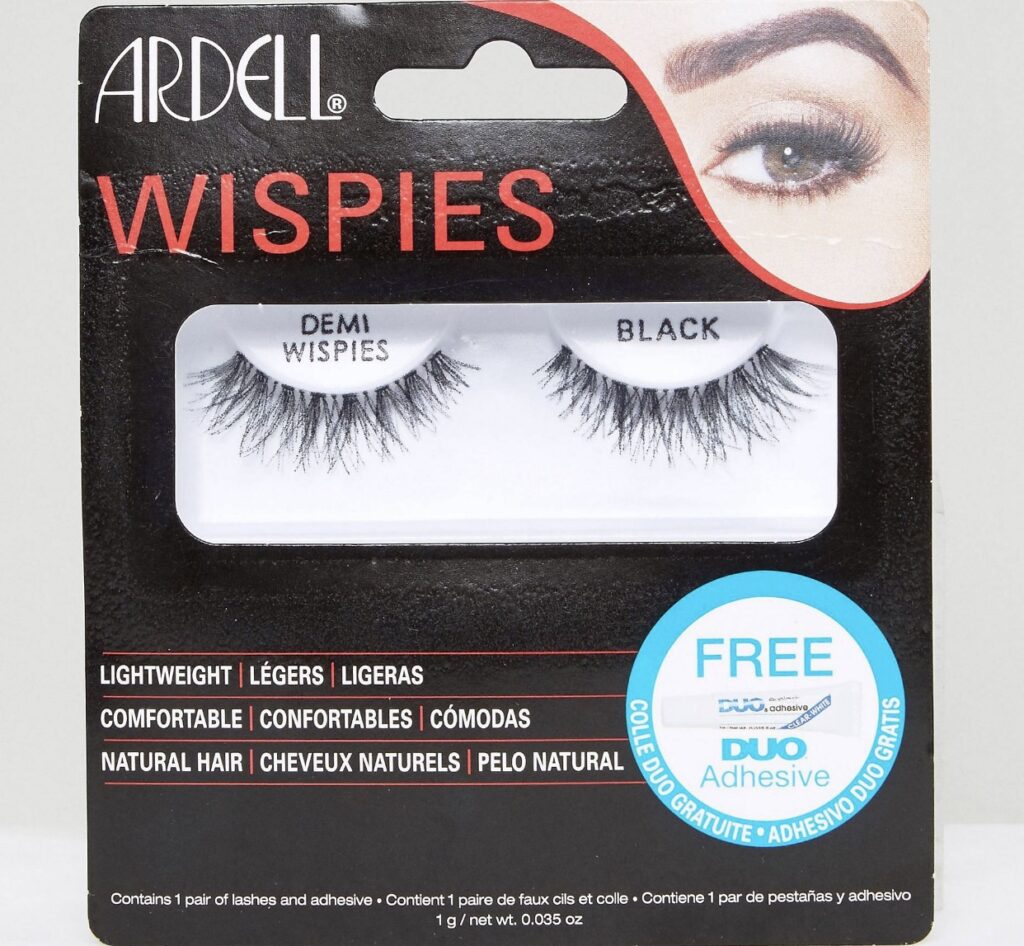
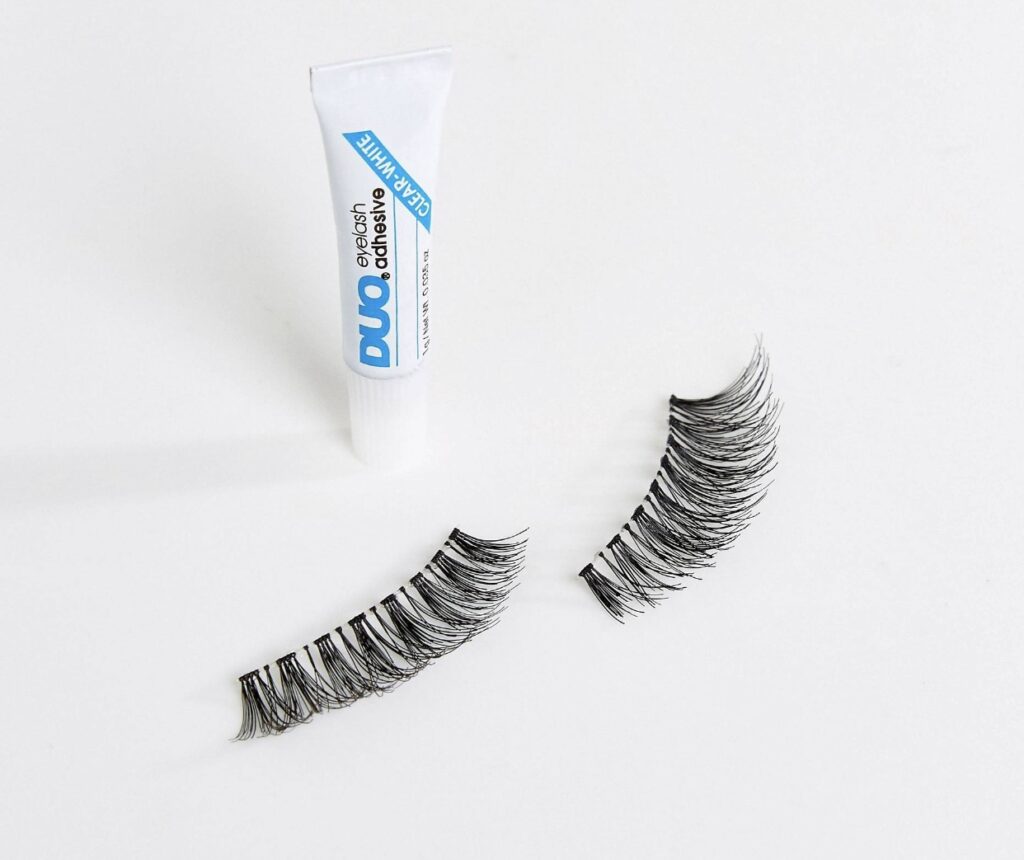
STEP 1 GLUE – A good glue is my MUST HAVE, girls I’m sure you can relate to this, but I have had so many mishaps where the glues I’ve used haven’t been strong enough and I’ve ended up with what I like to call “FLAPPY LASH” – Which for those of you who don’t know is where the corners of the lash start to lift and it just FLAPS!! Awkward beauty malfunction right there! SO you should never EVER compromise on the glue. It honestly doesn’t matter if the lashes were from the pound/dollar store or from MAC, I immediately bin the glue and turn to one of my go to products – EYLURE 18 hours glue priced at £5.50 or Duo £9.99 both available from ASOS, or any drug store (Boots/Superdrug)
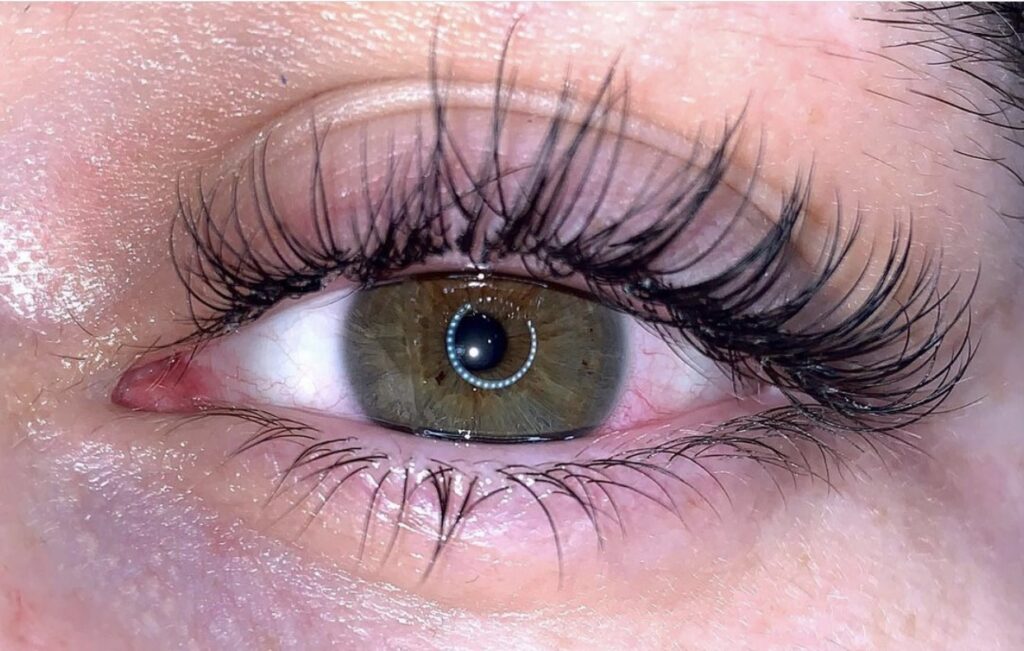
STEP 2 LASHES – Okay so a good set of strip lashes will make your eyes stand out and look beautiful, but a cheap, tacky plastic looking pair of lash’s will draw attention to your eyes for all the wrong reasons! Likewise stupidly long spider leg lashes will also do you no favours, because to put it bluntly they look stupid!
I have worn every type of lash you can think of and I definitely look back on some of my old photos and cringe at how awful they looked! Thankfully I have come a long way since those days and I have most definitely upped my lash game (well I think so anyways!)
I like my lashes to match the event, so if it’s everyday work then Ardell Demi Wispies £5.50 are my go to lash as they look super natural and are super lightweight, and to be honest I usually forget I’m wearing them! Ardell as well as having a huge selection of natural lashes, also offer an equally huge selection of fuller lashes that are ideal for a night out, definitely a brand I trust.
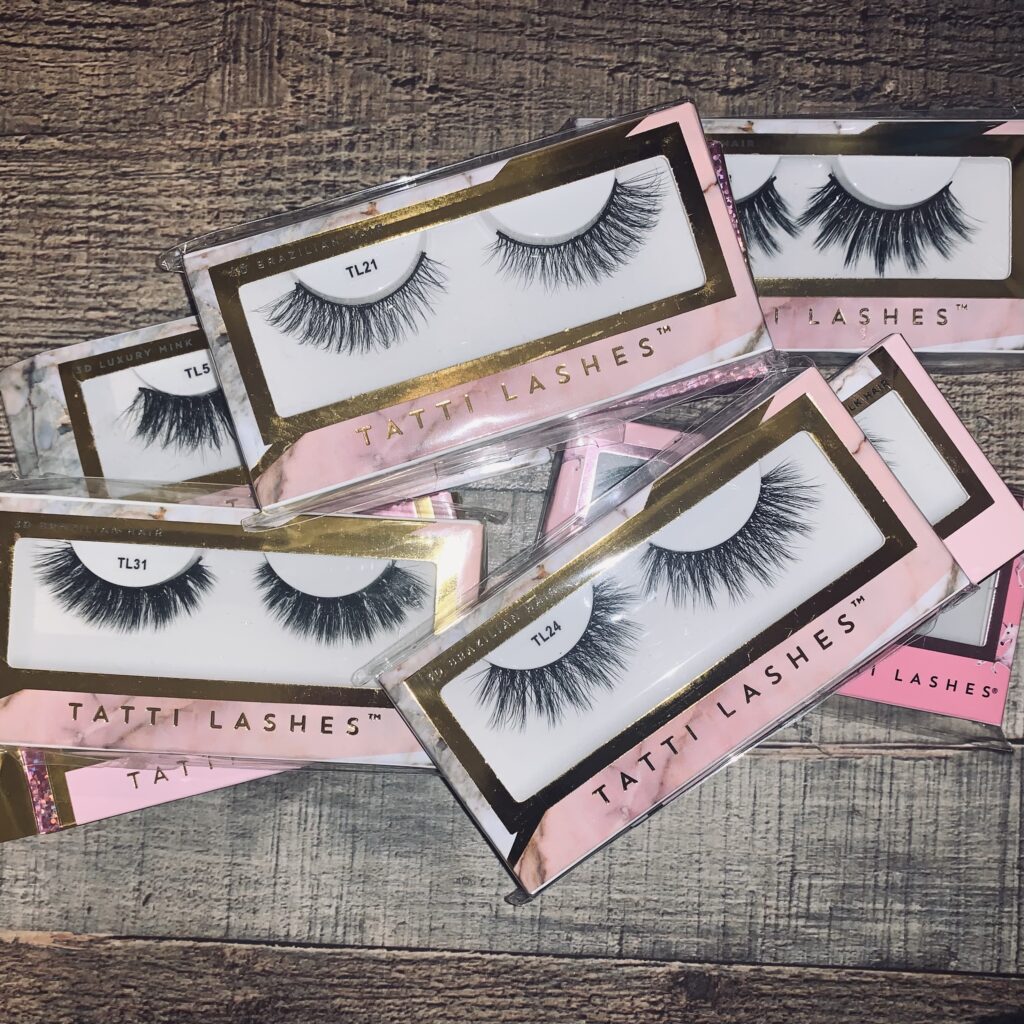
For the evening or night out I like to go bigger (but not over the top) so for this my go to lashes are Tatti lashes. I love the Tatti range, they do such a huge variety of lashes, from natural looking to the full on “look I’ve arrived” lashes. And they always look nice, and I find people really comment on them.
STEP 3 Application – Applying lashes is an art that I have mastered over the years, and can now apply my strip lashes without a mirror if needs be!
Successful application of strip lashes requires just 3 things – Lashes (obviously) good glue and tweezers/or lash applicator.
TIP 1– Don’t forget when removing lashes from the Trey always peel them from the inner corner and not the outer edge. This is because if you bend one section of lashes on the inside it doesn’t matter as it’s more than likely you’ll be trimming them off to fit your eyes anyway. I always trim from the inside as I don’t want to affect the fan in the outer corners, although other blogs will tell you to do it the other way (ie outside, to in) I guess it’s all down to personal preference.
Once your lashes are the right length, simply rest the strip along the lash line. The strip should start where your natural bulk of eyelashes begin, if you start too close to the inner corner it will irritate your eyes, and trust me, that hurts, and will cause your eyes to water.
Put a thin layer of glue along the top of the lash extension from corner to corner. Wait a few seconds for it to go tacky before applying.
Place the lash back on the lash line, and press firmly in place, I always use tweezers or lash applicator to secure the inner corner, as that is the tricky part!
TIP 2– If you want super long-lasting application you can do the ‘double adhesive’ technique by applying a thin line of glue along your lash line as well as on the lashes. My advice is to BE CAREFUL that you don’t get the glue on the lashes otherwise they will clump together, and that is never a good look!
And there you go, my very quick guide & easy guide to false lashes! Hope you’ve enjoyed my beauty post for today, don’t forget to check out my other beauty posts at lifestylelisa.com
Have a great weekend everyone.